Sprite override settings
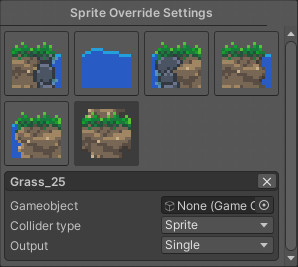
The Sprite override settings window is where you can modify the output of a Sprite, where you can assign gameobjects, set collider types, animations and more. If a Tiling rule has an output with a sprite added to the overrides, the sprite output of that tile will be determined by the settings set here.
To open the window look for the “Sprite override settings window” button in the Toolbar (Image with a gear icon). Clicking this will show the window. If the sprite drawer is visible opening this window will hide the sprite drawer and show this instead. You can also open the window by inspecting a sprite with the Grid cell inspector tool and clicking the Open sprite override settings button. If the sprite is not in the overrides yet this button will say Open sprite override settings

If you can’t see these option in the toolbar you probably don’t have the Universal sprite settings option enabled in the Export options. After you’ve enabled this option the button will appear on the Toolbar.
Adding sprites to overrides
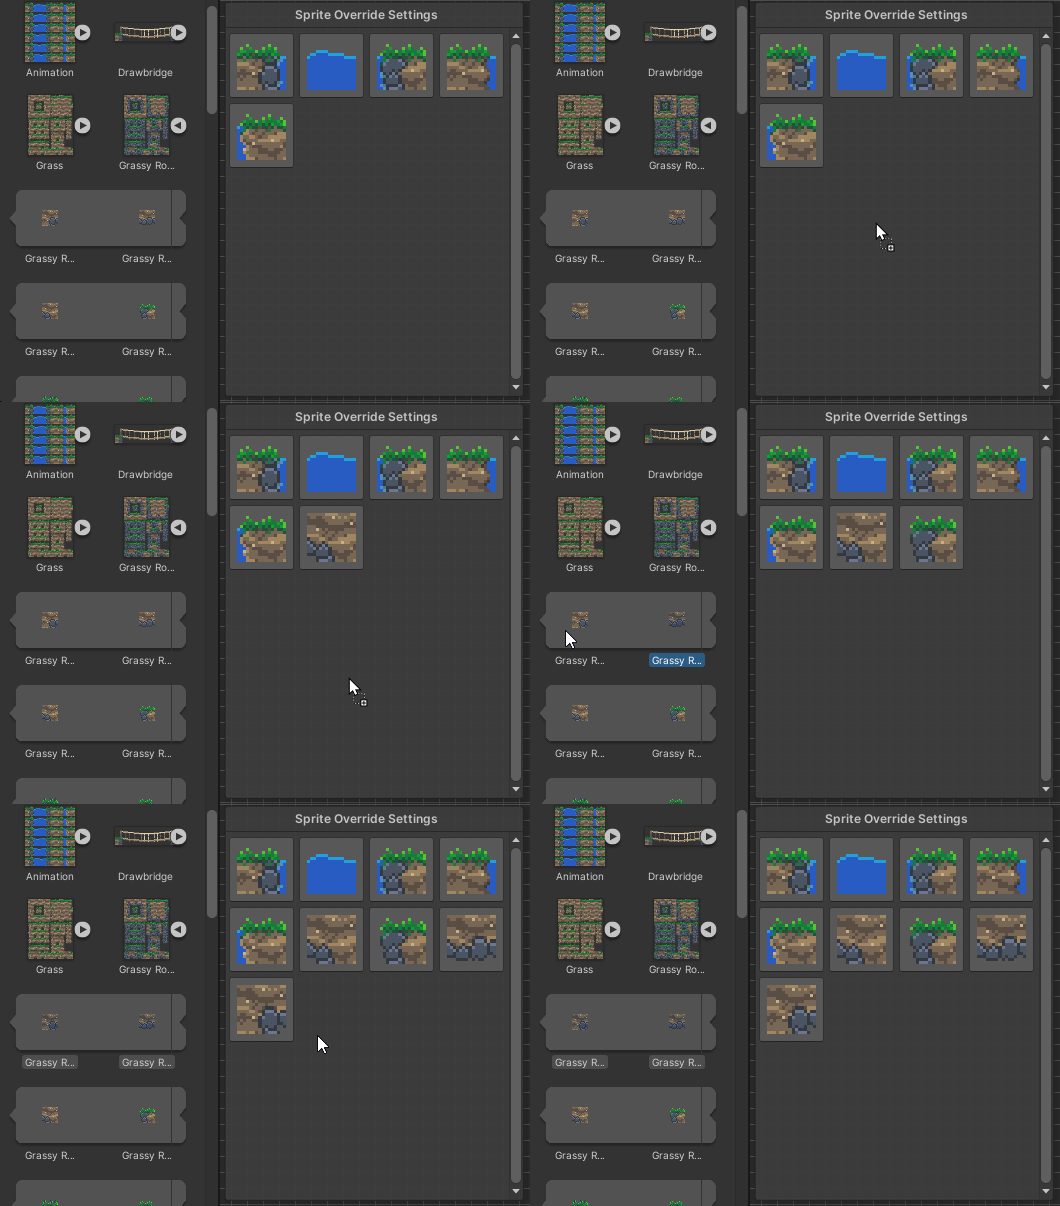
To add sprites to the overrides you can either use the Grid cell inspector tool or just simply drag and drop them in the overrides window.
If the Universal sprite settings option is enabled in the Export options, inspecting a sprite with the Grid cell inspector tool will show an option to add the sprite to the overrides instead of showing the sprite options. If the sprite is already in the overrides the button will simply open the window, or select the sprite within the window if it’s already opened.

You can also add sprites to the overrides by dragging and dropping them directly to this window. You can only add a single or multiple sprites, but not textures.

Using the window
To change the settings of a sprite, just simply click on them, which will reveal the settings for that sprite. Clicking a sprite will also select the Brush tool automatically and set the selected Sprite, this way you don’t have to switch to the Sprite drawer to select a sprite which is also in this window.

To remove a sprite from the overrides, open it’s settings and click the X in the top right corner of the sprite settings.
Sprite settings
- Gameobject - A prefab that will be spawned when the tile is placed with this sprite output.
- Collider type - How should the collider of this sprite behave
- Output - Change how the sprite should appear, here you can choose between different outputs that’ll reveal their own options when selected. The defaul is Single, which just shows this sprite without anything extra.
Output - Random
When the output random is selected, the output will be chose randomly from the Sprites array, based on the settings.
![]()
- Noise - The perlin noise factor when placing the tile
- Shuffle - Randomized transform given to the tile when placing it
- Sprites - Thet sprites where the random sprite will be chosen from when the tile fits the rule.
- Size - The number of sprites to choose from
Output - Animation
When the output is set to animation, the output will cycle through and display the sprites in the Sprites array in sequence to create a frame-by-frame animation
![]()
- Min speed - The minimum possible speed at which the animation of the tile is displayed. The speed value will be randomly chosen between the minimum and maximum speeds.
- Max speed - The maximum possible speed at which the animation of the tile is displayed. The speed value will be randomly chosen between the minimum and maximum speeds.
- Sprites - The frames of the animation sequence. The animation will play the sprites in this exact order, than loop back to the beginning to continue the animation.
- Size - The amount of frames the animation sequence has.
Output - Pattern
The pattern output is useful when you have multiple tiles the tile together, but not individually. With this you can specify a set pattern which the output will follow and tile, so they’ll always match no matter where you place the tiles.
![]()
- Pattern size - The size of the pattern
- Sprites - The sprites that make up the pattern, the order here will determine how they’ll appear in the pattern. The sprites go from left to right, than top to bottom per row. When placing the tile on the tilemap, the output will loop back to the start of the column or row when the pattern ends, so they’ll tile up.
- Size - The amount of sprites that make up the pattern. This value is set automatically based on the pattern size.
- Pattern preview - This section shows a preview of how the sprites will be ordered when placed down on the tilemap. This will also show if sprites are missing from the pattern.