Examples
The package comes with a few examples to help you better understand the tool. All of the examples contain a Better rule tile container asset, a tilemap, a scene, and a little description to explain that example.
#1 - Simplify rules
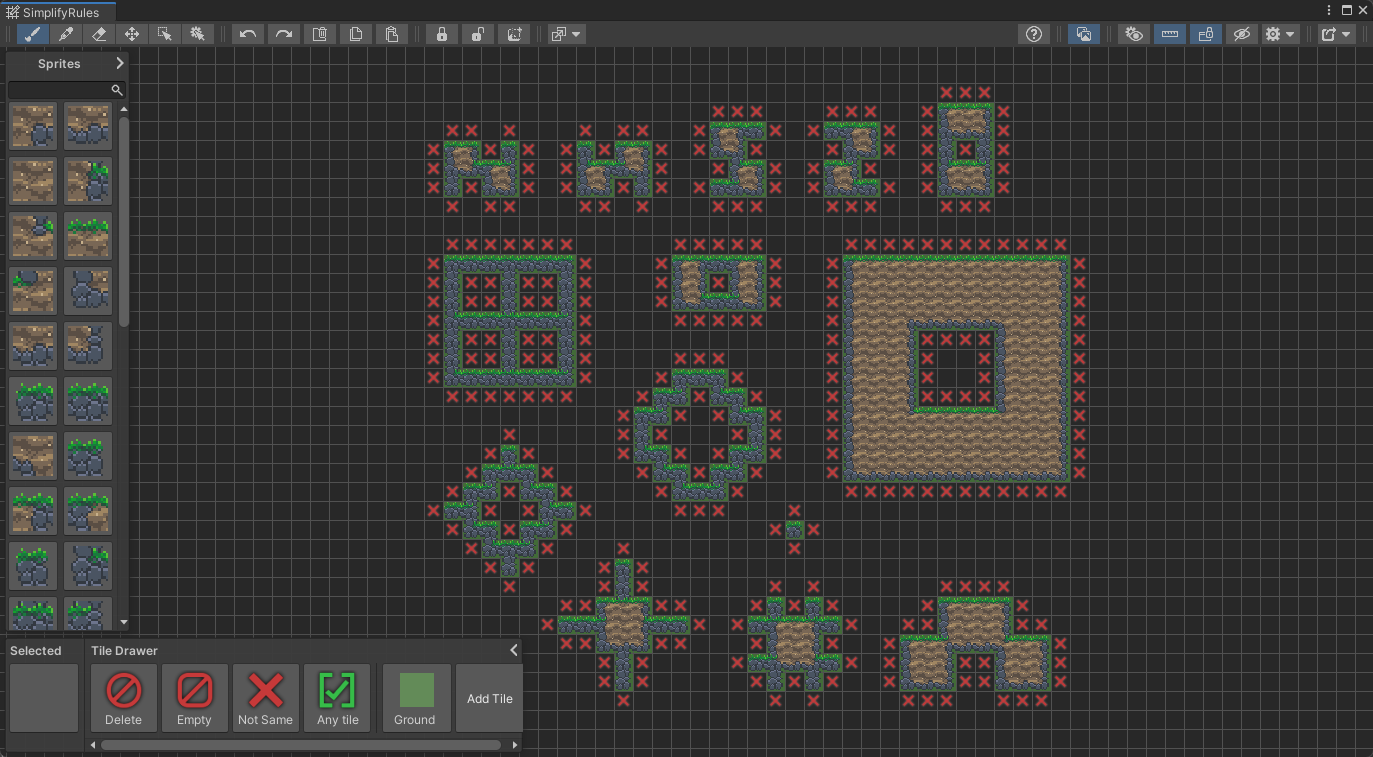
This first example shows you how to create Tiling rules using the Simplify similar rules option from the Export options.
Example #1
The simplify rules option simplifies the output rules to fit every possible situation, given that you’ve provided enough samples.
With enough samples provided this is the easiest way of creating rule tiles using this tool, just draw out the shapes with the tiles, mark the empty spaces around the tiles with the “not same” rule, and fill in the sprites.
#2 - Advanced
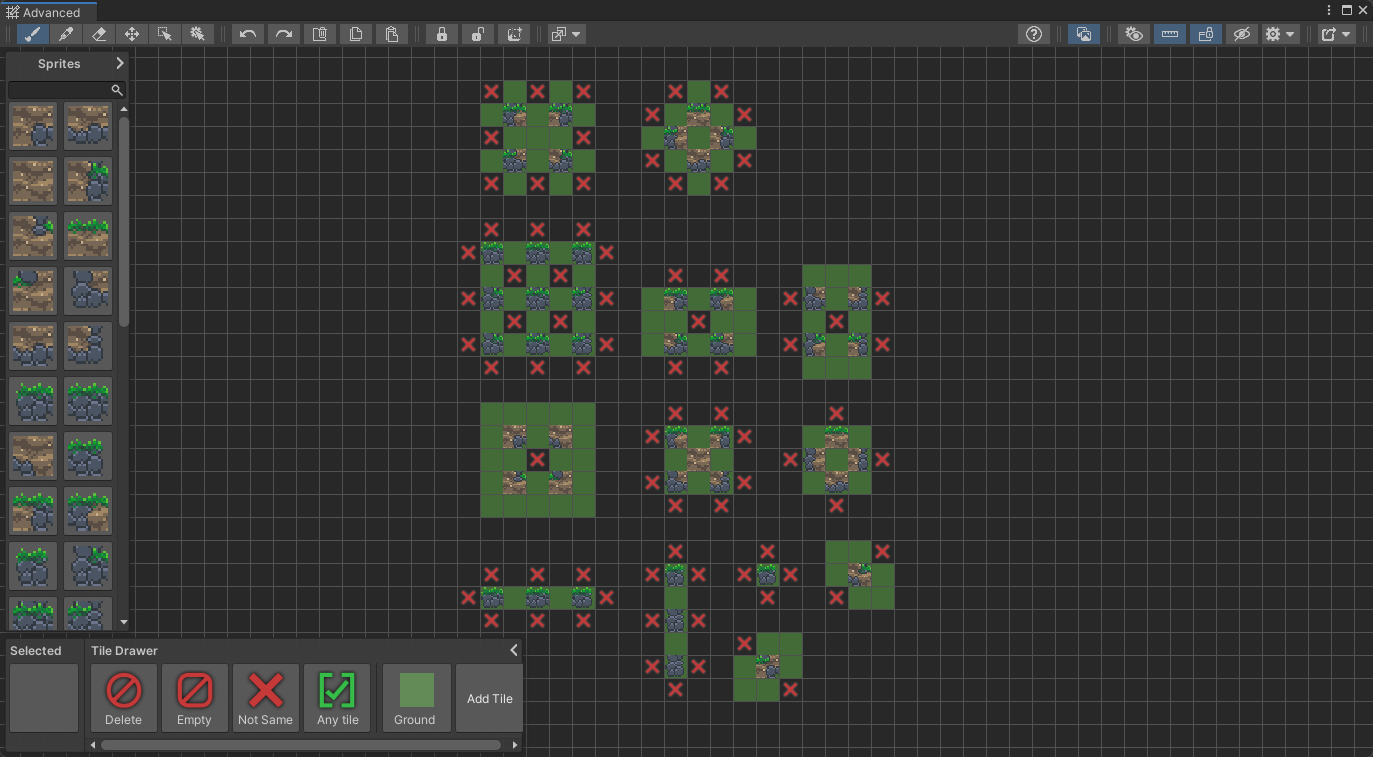
This second example shows you how you can make more generic Tiling rules, by laying out them in a way where the tiles doesn’t check for the neighbors which wouldn’t affect them.
Tip
If you want more precise control over how the rules are generated, you can create the rules in a similar way that you would’ve created by default. You just simply need to mark the the neighbors where it would connect with the same tile, and mark neighbor’s that will not connect with the “not same” tile.
This method is perfect for more advanced users, as it offers quicker rule creation and more control over how the tiles connect. This method can also be used alongside the “simplify rules” option, to enable even more possibilities.
#3 - Preset blocks
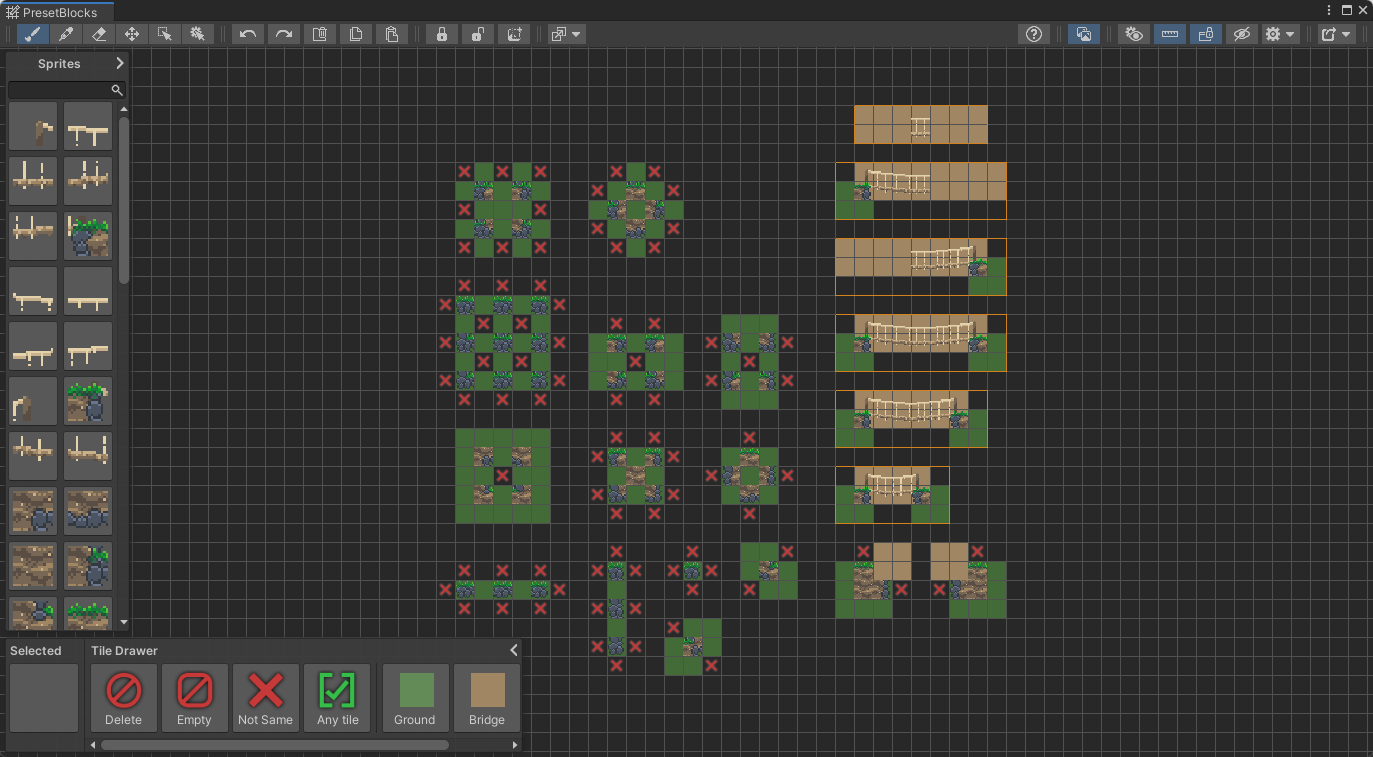
This example shows a potential use for the Preset block feature.
Tip
Sometimes checking only for the neighboring tile is not enough. With preset blocks you can create complete presets that’ll appear the same on the tilemap once the tile placements match the block.
To create a preset block just simply select an area and click the “create preset block” button in the toolbar.
#4 - Connection
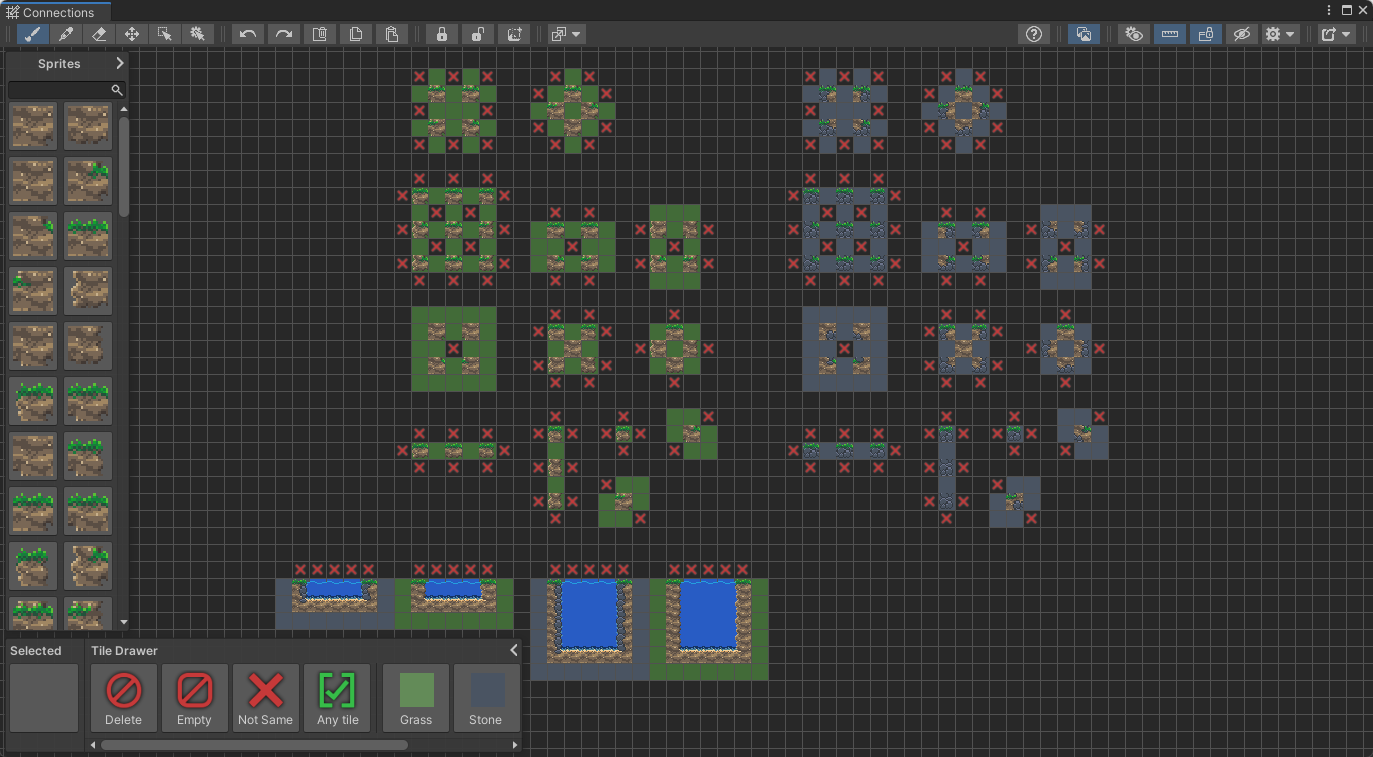
This example shows you how you can create interactions between different tiles, by drawing the Tiling rules in a way that they check for other tiles. This example also show how to make tiles always connect to each other using the Connection feature from the Tile inspector.
Tip
If you have two separat tiles and you want them to connect to each other, just simply select the tiles in the tile drawer, and un the “tile info panel” under the “connect to” option you can select tiles that the tile you’re editing will connect to. Any tile specified in this option will be treated as it were the same tile, and will connect to it.
You can also create interactions with other tiles by drawing them on the grid. That way you can create specific transitions between different tiles.
#5 - Universal sprite settings
This next example shows how to use the Sprite override settings window which you can enable from the Export options window.
![]()
Tip
You can change the tile output’s properties like the output sprite or the collider type by selecting the “tile inspector” tool for the top left of the toolbar and selecting a tile. But if you have multiple tiles with the same output sprite this method would not work well as you’d need to change it for all the tiles. Here the best option is to use the “universal sprite settings”.
This option will allow you to change the tile output universally across all the tiles which have the same output sprite. To enable it click on the “export options” button in the top right corner (this option is enabled by default on newly created assets) and than you can open the sprite settings window with a button in the toolbar.
You can use the sprite settings window the same way you’d use the sprite drawer, you can drag the sprites into it and then select the sprites to draw with them. But additionally you can also change the output settings of all the tiles which use that sprite.
Enter play mode to test the animation!
#6 - Variations
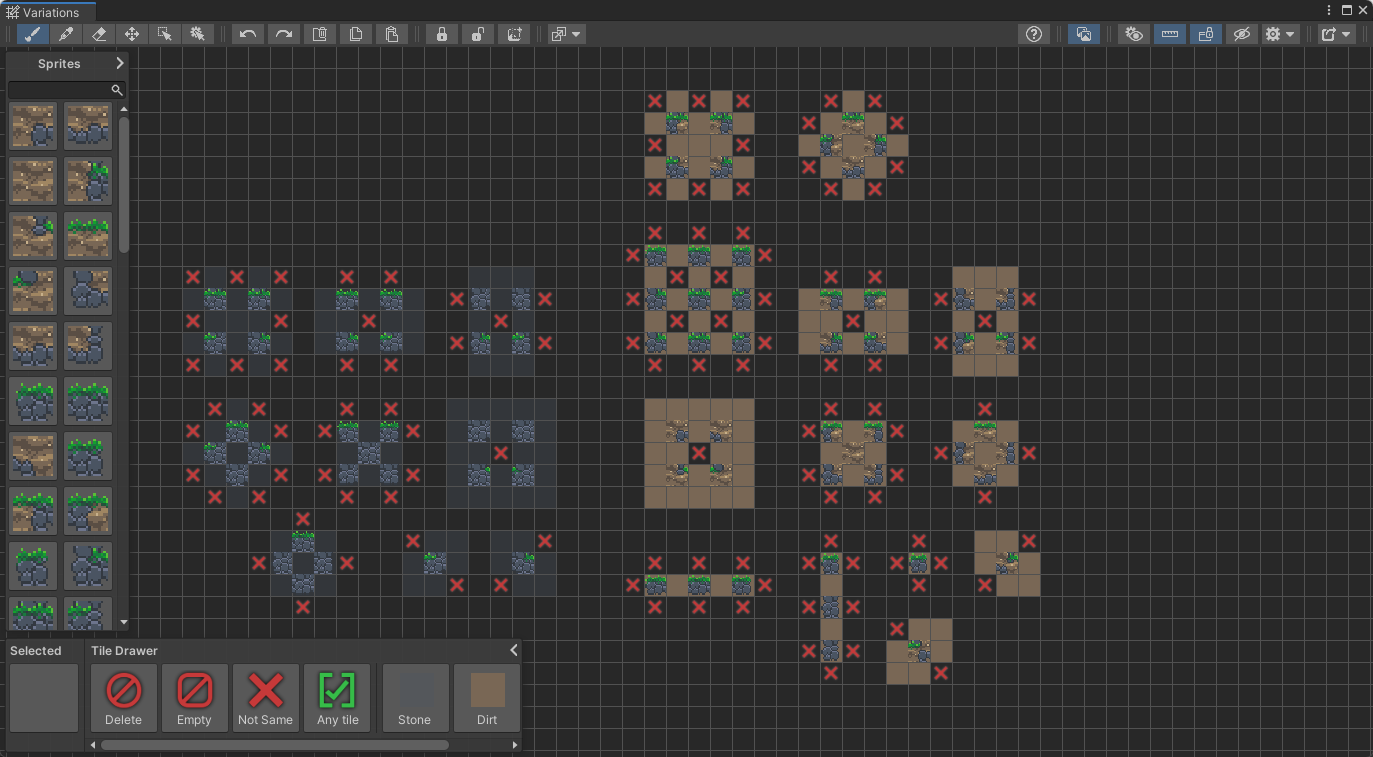
This example shows you how you can use one tile as a fallback for another one. You can do this in the Tile inspector window.
Tip
If you have different tiles which have a few rules which are the same between them, you can use the tile variation feature, so you don’t have to specify every rule.
If a tile is variation of another, any rules that’s missing from this tile but it is in the other one will get filled in automatically. In this example the stone tile is a variation of the dirt tile, so any rule that’s missing from the stone tile will be taken from the dirt tile.
To set a tile variation select the tile in the tile drawer, and under the “tile variation” tab uncheck the “unique tile” option and select the variation tile.
#7 - Custom properties
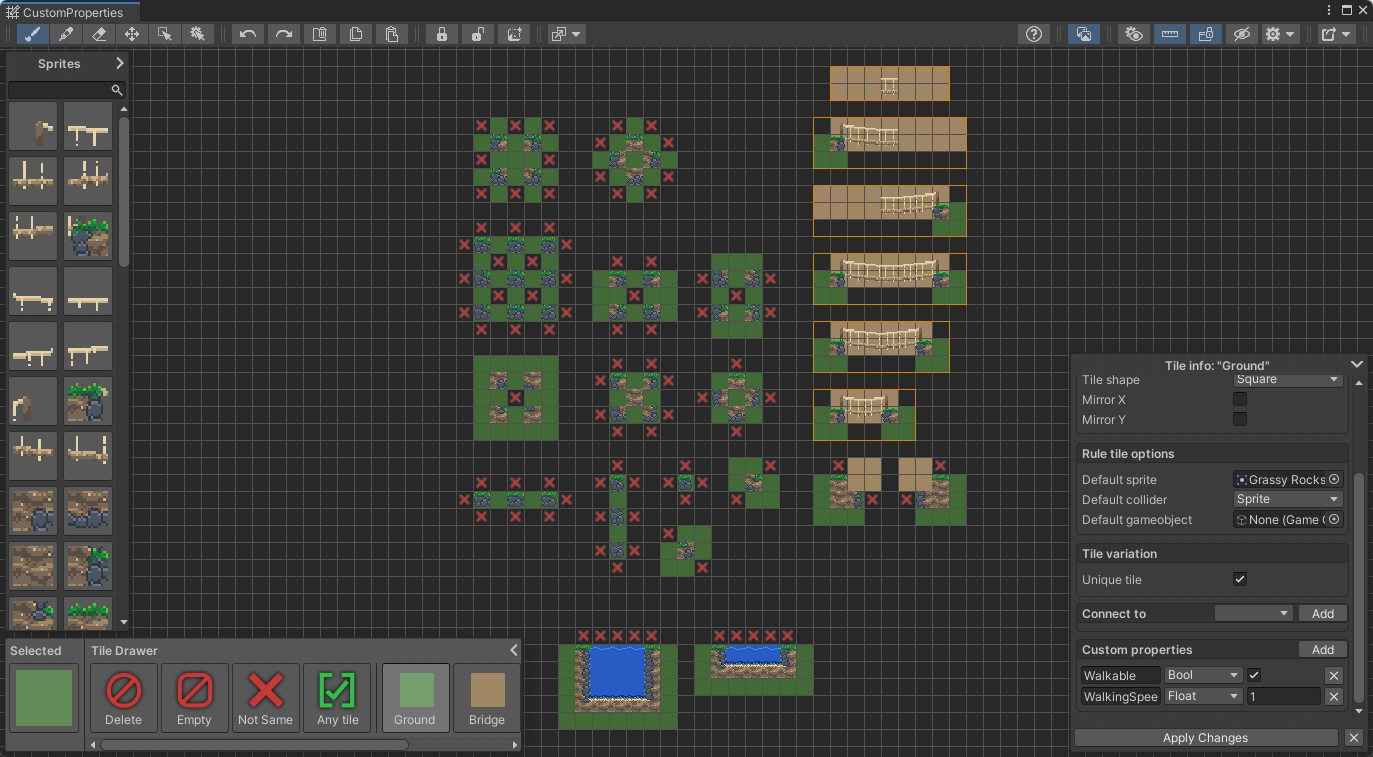
This last example shows you how you can use the Custom properties feature in your games. It includes the usual tile container, tilemap and scene, but it also includes an example script that you can try out to see the feature in-game.
Tip
If you want to store information in the tiles you can add properties to them in the tile inspector under the properties tab. You can create a script that reads these values from the tilemap, check the sample scripts provided for further info.