The editor tools are the main way of creating and editing rule tiles using the package. You can select these tools int the BRT Editor from the toolbar. The following sections will describe each tool from the toolbar from left to right.
Brush tool
The brush tool is one of the most important part of the editor, if you want to paint tiles or sprites you need to use the brush tool.

To use the brush just select it from the toolbar or by pressing the B key, and start drawing on the grid by pressing and holding down your left mouse button. The brush will use the selected sprite or tile shown in the tile drawer. If there’s nothing selected, the brush will not do anything.
Sprites and tiles are on two separate layers:
- When drawing with sprites you’ll draw on top of the tiles, without affecting those.
- When drawing with tiles you’ll draw them under the sprites.
You can select sprites by selecting them in the sprite drawer, or by using the picker tool to pick a sprite that’s been already placed on the grid. You can also temporarily activate the picker tool by holding left control. While the picker tool is active your cursor will change to indicate it.
You can select tiles in the tile drawer, or by using the picker tool the same way you’d use it to select a sprite. If a grid cell has both a sprite and a tile in it, the picker tool will pick the sprite.
The brush tool is not only used to draw tiles and sprites but to erase tiles as well. To erase tiles you just need to select the Delete tile from the tile drawer and use that to draw. Using this will override any tile with an empty rule.
Picker tool
The picker tool is useful to quickly switch between tiles or sprites that you’ve already placed on the grid. To select the picker tool you can select it from the toolbar or by pressing the I key.

To use the picker tool you just simply select it and than click on the sprite or tile you want to select. After selecting a tile or sprite the tool will be automatically switched to the brush tool so you can draw without selecting another tool.
If a grid cell contains both a tile and a sprite, the sprite will be picked. If the cell is empty nothing will be picked and the picker tool will stay as the selected tool.
While using the brush tool, you can hold left CTRL to temporarily switch to the picker tool, making it way faster to pick and place sprites and tiles.
Eraser tool
The eraser tool serves only one purpose, to erase sprites from the grid. To use the tool just simply select it from the toolbar or with the D key and click or drag on the sprite which you want to erase with your left mouse button.

To erase tiles, you need to use the brush tool.
Move tool
With the move tool, you can move the selection around the grid which you selected with the selection tool.

To move a selection select the tool from the toolbar or using the M key while a selection is active, click anywhere on the grid to begin moving the selection. While moving the selection the outline will change to blue. You can move the selection while holding the left mouse button. When releasing the mouse button the contents of the selection will be moved to their new position.
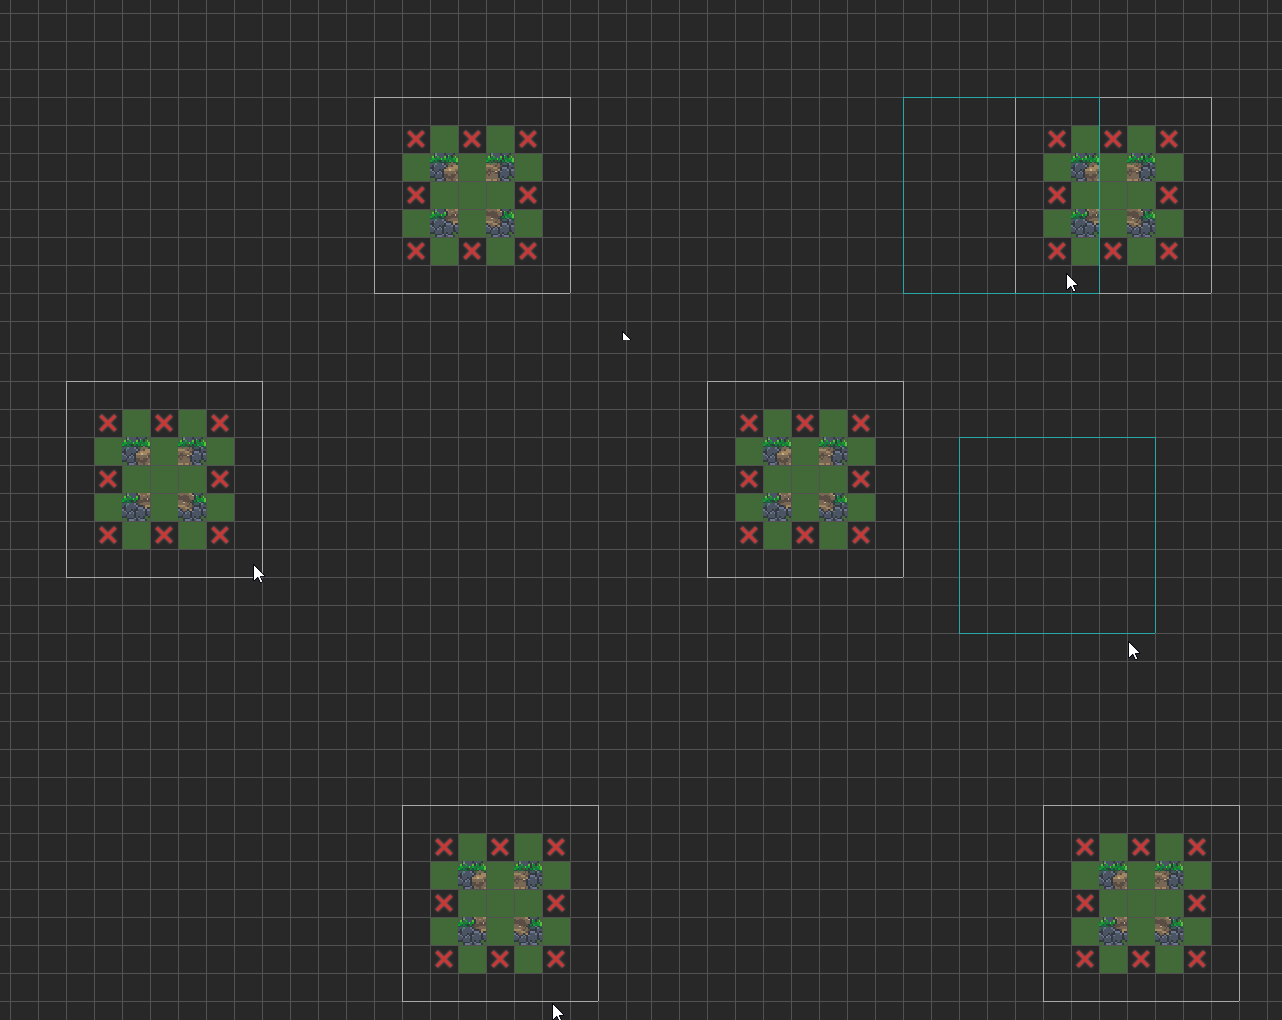
The move tool will not move tiles if they were locked with the lock selection tool.
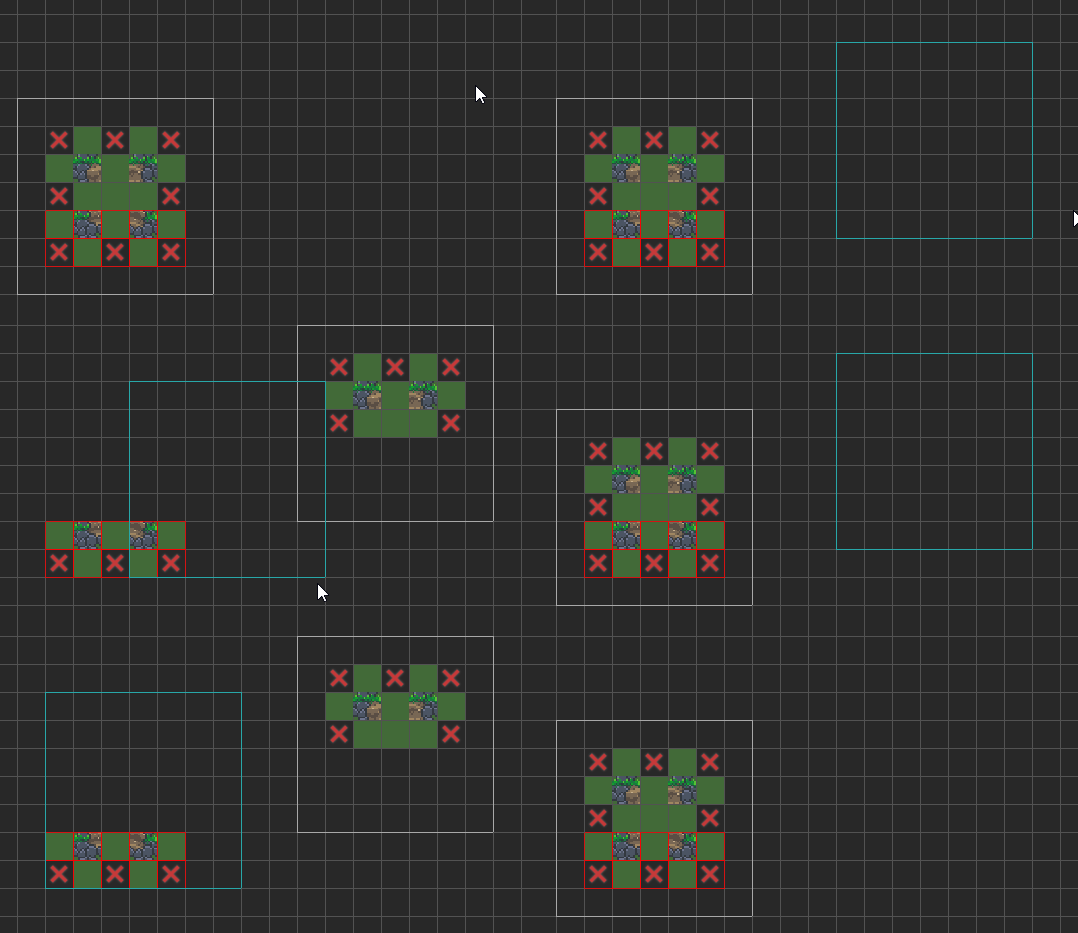
If you move a selection on top of other tiles, the selection will override the tiles which are already there.
Moving the clipboard
After copying a selection using the Copy function from the toolbar you can paste this selection with the Paste function from the toolbar (or by using CTRL+C and CTRL+V) and move the selection with the move tool.
When pasting in a selection the move tool tool will automatically be selected. You can move the selection around as much as you like, while the selection is shown in a green outline it is just a preview and has not been confirmed yet. To confirm the selection and paste the clipboard in you can switch to any other tool or press Escape.
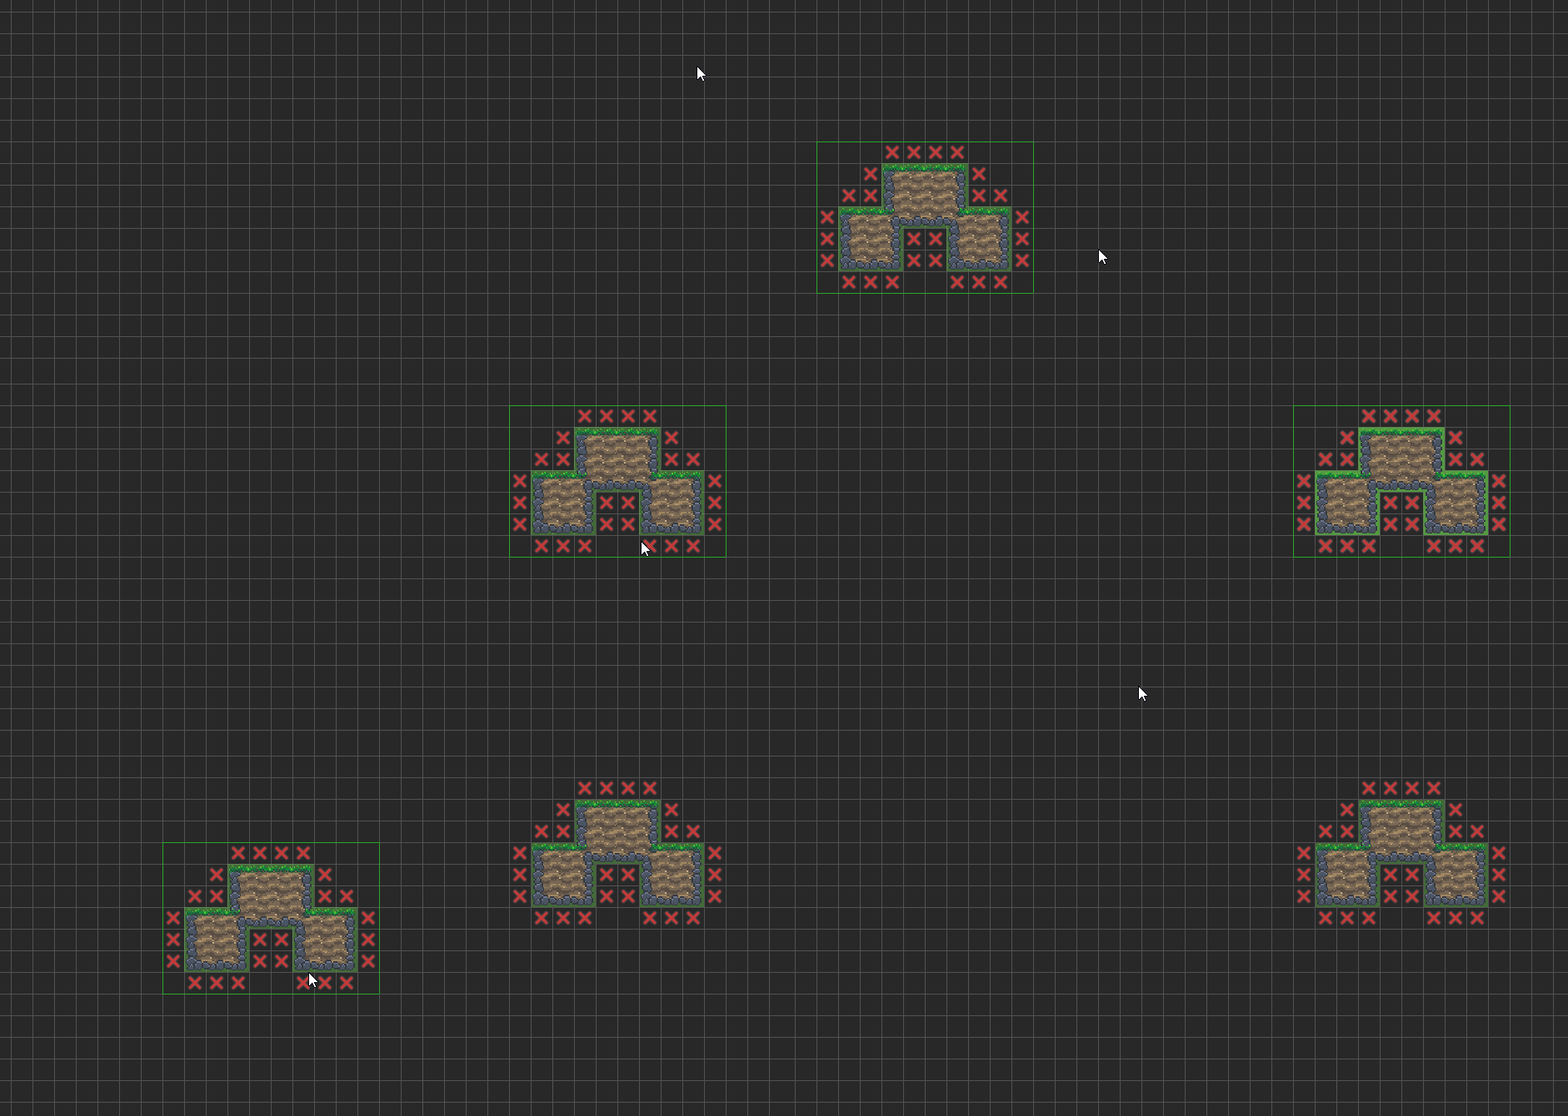
If you changed your mind and don’t want to paste the copied selection in, you can press the Delete key. When the green selection is visible the delete key will not delete any tiles or sprites inside the selection, it’ll just remove the clipboard preview without pasting it in.
Selection tool
The selection tool is used to create selections, which allow the user to manipulate multiple grid cells at the same time. Select the tool from the toolbar or by using the keyboard shortcut S.

To create a selection, just left click on the grid cell where you want one of the corners to be, then while still holding the left mouse button drag your cursor to the other corner of your desired area. After that release the left mouse button to confirm the selection.
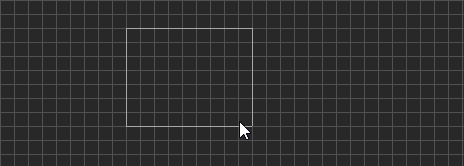
The selection will stay active until you create a new selection, or until you pick a tool that does not require a selection.
Selections are used with a number of tools:
- Move tool - move a selection around
- Grid cell inspector tool - using a selection you can easily specify neighbor positions
- Delete selection - delete the tiles and sprites inside the selection
- Copy selection - copy the selection
- Paste selection - paste in a copied selection, which you can than position with the move tool
- Lock selection - lock the selection
- Unlock selection - unlock the selection
- Preset block - create a preset block from the selection
- Replace selection - easily replace sprites and tiles in the selection
Grid cell inspector tool
The grid cell inspector tool is used to select grid cells to be inspected using the grid cell inspector window, just simply left click on the grid cell you want to edit. If you have a cell selected, the grid cell inspector window will appear in the bottom right corner of the editor. The selected cell will be highlighted with a yellow outline.
Similarly to the selection tool, you can also click and drag on the grid to select an area. When there’s an active selection while the grid cell inspector tool is selected, another window, called the bulk cell editor will appear. In this window you can modify certain values of all the cells inside the selection.

You can also use the E key to select the grid cell inspector tool.
Grid cell inspector window
The grid cell inspector window is used to change properties of a specific grid cell. These options include the same options you’d find in the tiling rule section of a regular rule tile, and other options specific to Better Rule Tiles.
The options are split to the following categories:
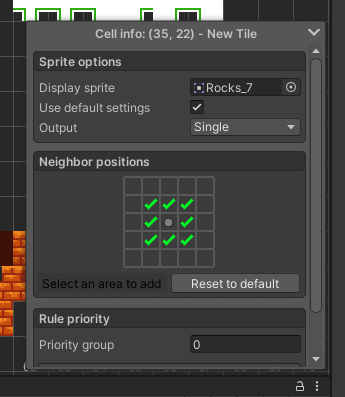
Sprite options
In the sprite options category you’ll be able to change how the tile gets displayed on the grid when exported.
- Display sprite - This field contains a reference to the sprite which is displayed on the grid, changing the sprite here would be the same as using the brush tool to change the sprite.
- Use default settings - If this is enabled the sprite will use the default collider and game object of the tile which you can change in the tile inspector window. If you disable this you’ll gain access to these two options:
- Gameobject
- Collider type
- Output - This option will change the sprite output of the Tiling rule.
Based on the output type, you’ll see more fields appear to change values specific to that output type. These options are the same you’d find on any type of tile. You can refer to the Unity documentation to learn more about these.
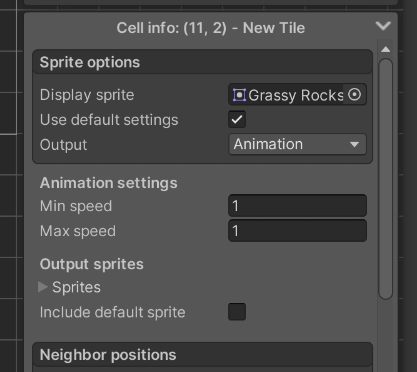
Highlight cells
To make it easier to find cells that have been modified, there’s an option on the toolbar to highlight any cells that have been modified. When this option is enabled an cells that have been modified will be highlighted with a flashing outline.
Sprite options
If Universal sprite settings is enabled, most of these options will move over to the sprite override settings window, where you can change the settings per sprite instead of per grid cell. This way you don’t need to change the settings for every cell that has the same sprite output, only for that one sprite in the override settings window.
Neighbor positions
In this category you can change where the tile will check for the neighbor to determine the rule. This window is similar to the one you can see when creating a regular rule tile, with the only difference that this one only determines the positions to check for, and not the actual rules. If you want to extend the range by a significant amount, you can select the area around the inspected cell that you want to check for with either the selection tool or the currently selected inspector tool, and click the Add selection button. This way you don’t have to click each cell one by one. You can also quickly reset the positions using the Reset to default button.
- Transform - This option determines whether or not the sprite can be rotated or mirrored to fit the rules. To change this option click the center square in the Neighbor positions grid, this will cycle through the options. When the cell is part of a preset block, this option will be instead shown as a dropdown, and will apply to the entire preset block, not just that one cell.
Preset
If the cell is part of a preset block, the neighbor positions option will be disabled because the preet block manages them. Instead the neighbor positions section will show the options for the preset block.
Rule priority
In the rule priority group, you can manually modify the priority of rules. If two different tiling rules have a match in the same spot, the rule with the higher priority will be used.
- Priority group - determines the priority of the tiling rule when generating the tile. You can either set this value one by one to have full control over the priority of the rules, or you can add multiple tiling rules to the same priority group. The order of the rules will be determined first based on the group, and then sorted automatically within those groups.
The automatic sorting is determined by the complexity of the rule. The more neighbors it has, thus the more specific a rule is, the higher it is in the priority list. Simpler, more generic rules will be used as fallback if those more specific rules don’t match.
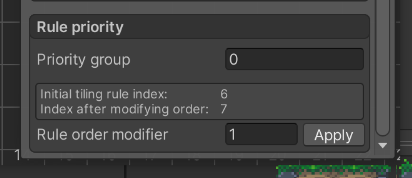
But there could be cases where the automatic sorting doesn’t fully sort the rules like you want them. In that case, you can use the rule order modifier option to change the order of the rules once they got sorted automatically.
- Rule order modifier - when generating the tiles, this number will determine how the rule order will be adjusted after it has been sorted automatically inside it’s priority group. In most cases, this means the tiling rule index will be adjusted by this amount. Keep in mind than moving up one tile will move another tile down, so it’s not necessarily a one-to-one representation.
Rule order and priority groups
The rule order modifier will only work within the same priority group. No matter how high you set the rule order modifier value, if another rule has a higher priority, it’ll always be higher on the priority list.
- Tiling rule index - If you’ve already exported the tiles once, you’ll see a helpbox above the rule order modifier showing the current rule index in the exported asset. You can use this to adjust the rule order modifier more precisely.
Rule index
The rule index shows the index of the exported tiling rules. A lower index means higher priority! The rule with index 0 being the one with the most priority.
Rule order values
The rule order modifier was intended to only correct the automatic sorting. It is recommended to use lower values, just enough to change the order that needs changing.
Bulk cell editor
The bulk cell editor is used to edit multiple grid cells at the same time. To access it, select the area you want to modify, and have the grid cell inspector tool selected. If these conditions are met, the bulk cell editor will appear in the bottom right corner of the editor. You can apply the following changes to the selection:
- Priority group - add all selected cells to the same priority group.
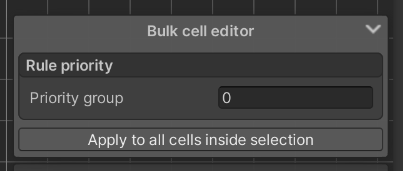
To apply the changes to the selection, click the apply button on the bottom of the window.